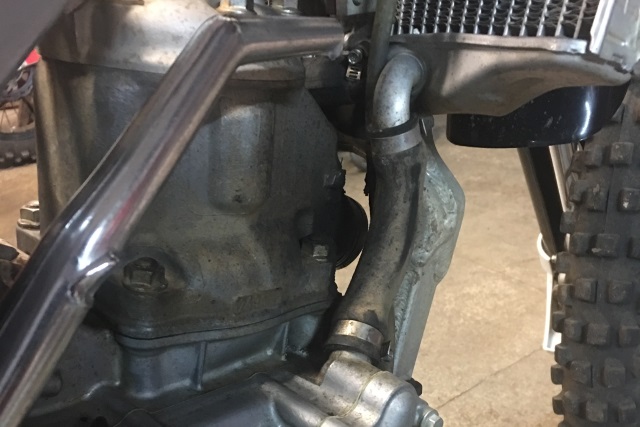
The horror of finding a puddle of radiator fluid on the garage floor underneath your dirt bike or facing a geyser of steam during a ride often gets tempered after discovering the problem rests with the radiator hoses not the radiator.
Replacing damaged radiator hoses makes for a less complicated day then changing out a leaky radiator. There you need all sorts of tools, plenty of time and a dose of patience. Changing out the hoses requires quite a bit of muscle more than anything, but don't expect an easy-on, easy-off routine. It demands a bit of effort, but work at them long enough, eventually they come loose.
Most dirt bikes and ATVs have just a handful of radiator hoses that feed the coolant from the radiator to the engine and back, gripping with a tight lock on the end of the radiator nipples and engine water outlets. You need hose pliers for installation and removal, but careful, even these tools when not used properly can damage the hoses before they get a chance to help cool the engine.
A well-used radiator hose
What Causes a Leaky Radiator Hose?
Radiator hoses, like tires, eventually weather, crack, get old and suffer damage sometimes from other riders or crashes. Just think about all the hot water flowing through the hoses along with the blistering hot metal attachments. Something's eventually gotta give. Routinely inspecting the hoses for signs of aging gives you an idea of how much time you have left. Once you see any fading or cracking, especially around the ends where the hose attaches to the radiator nipples and engine outlets, you need to replace the hoses.
Collapsed Hose
Hose fatigue, usually from age, occurs when the hose gets hot and results in collapsing. This causes a back-up in the system and an increase in pressure which gets released at the weakest point, usually one end of the hose. Diagnosing this problem proves difficult at times because it occurs while riding and you likely won't see the collapsed section of hose during an after-ride inspection. Higher-end hose manufacturers install a spring or wire to prevent this problem from happening.
Burst Hose
A burst hose results from a blockage or increased pressure in the cooling system often caused by a compression leak into the system from the cylinder therefore you might have a blown head gasket or cracked cylinder or cylinder head. Wear and age also cause a radiator hose to burst, usually from decay which starts on the inside and pressure eventually escapes into the outer layers of the hose. Conversely, damage to the outer layer, leaving a thin inner layer, can result in a burst hose.
A malfunctioning radiator cap that prevents pressure from escaping might cause a hose to burst, as well.
Replace all radiator hoses together (just like you do the sprockets and chain) regardless of the condition of one over another. When one hose has deteriorated enough requiring a replacement, the others won't be far behind.
Shop all radiator hoses.
Bad Hose Clamps
Lastly, metal clamps keep hoses in place and secure the bond around the radiator tubes. These clamps also wear out and eventually lose their mojo. Sometimes the clips wear out before the hoses so you can re-use the hoses - so long as they show no signs of weathering - if the clips break from a crash or no longer effectively keep the hoses attached.
Shop all radiator hose clamps or grab a hose and clamp kit.
A new radiator hose
How to Remove Radiator Hoses
PULL! That's the gist of it but you need more than pull strength. If you plan on reusing the hoses because of damaged metal clamps then you need to employ some care when removing. If the time has come for total replacement, then do what you want, just don't damage the nipples or metal outlets. The pliers work well for removal and once you get one end off you get better leverage at pulling the other end off.
A hose pick, used carefully, helps lift the seal from the hose end to the nipple or outlet. Don't forget to loosen the metal clamps too. Sometimes we get caught up in the hose removal we forget to remove the one thing keeping the hose attached.
If you plan on reusing the hoses then handle carefully, gently working the hoses back and forth. Don't pull because that just stretches them. You can spray some WD-40 or other lubricant to help loosen the seal but don't forget to wipe everything clean before re-installing them.
Keep Your Coolant Fresh
Stay up on maintenance and replace the coolant regularly to keep hoses in good repair. This helps prevent premature wear and clogs. Old coolant allows for the accumulation of crud which makes it harder to remove the hoses and can lead to blockages. Keep your cooling system clean by following the manufacturer's recommended intervals.
By the way, wait for the engine to cool before removing any radiator hoses. But you probably already knew that, right?
Shop for coolant.
Check out these related articles to help get you up to speed:


